Showing posts with label adventures. Show all posts

Monday, 16 June 2025

UP SHIT CREEK

 new adventure module by ME for BLOOD BORG, that's the vampire punk Mork Borg hack by the inimitable World Champ Game Co.

Nasty stinky sewer river cruise, vampire brawls and mutant rats, dark magic and secret agents, plusssss... new curses! new spells! Sewer shortcut generator! and a whole lot more...

It's called UP SHIT CREEK and you can get it here! in print and here! in pdf RIGHT NOW

This was super fun to write, blood borg has such a dense and rich rulebook that's got all kinds of stuff to make your games work - so I could really get stuck into its dark, crusty world and make something super fun. WCGco makes a huge variety of stuff, it's all great and this is no exception. Get on it!!

Tuesday, 6 May 2025

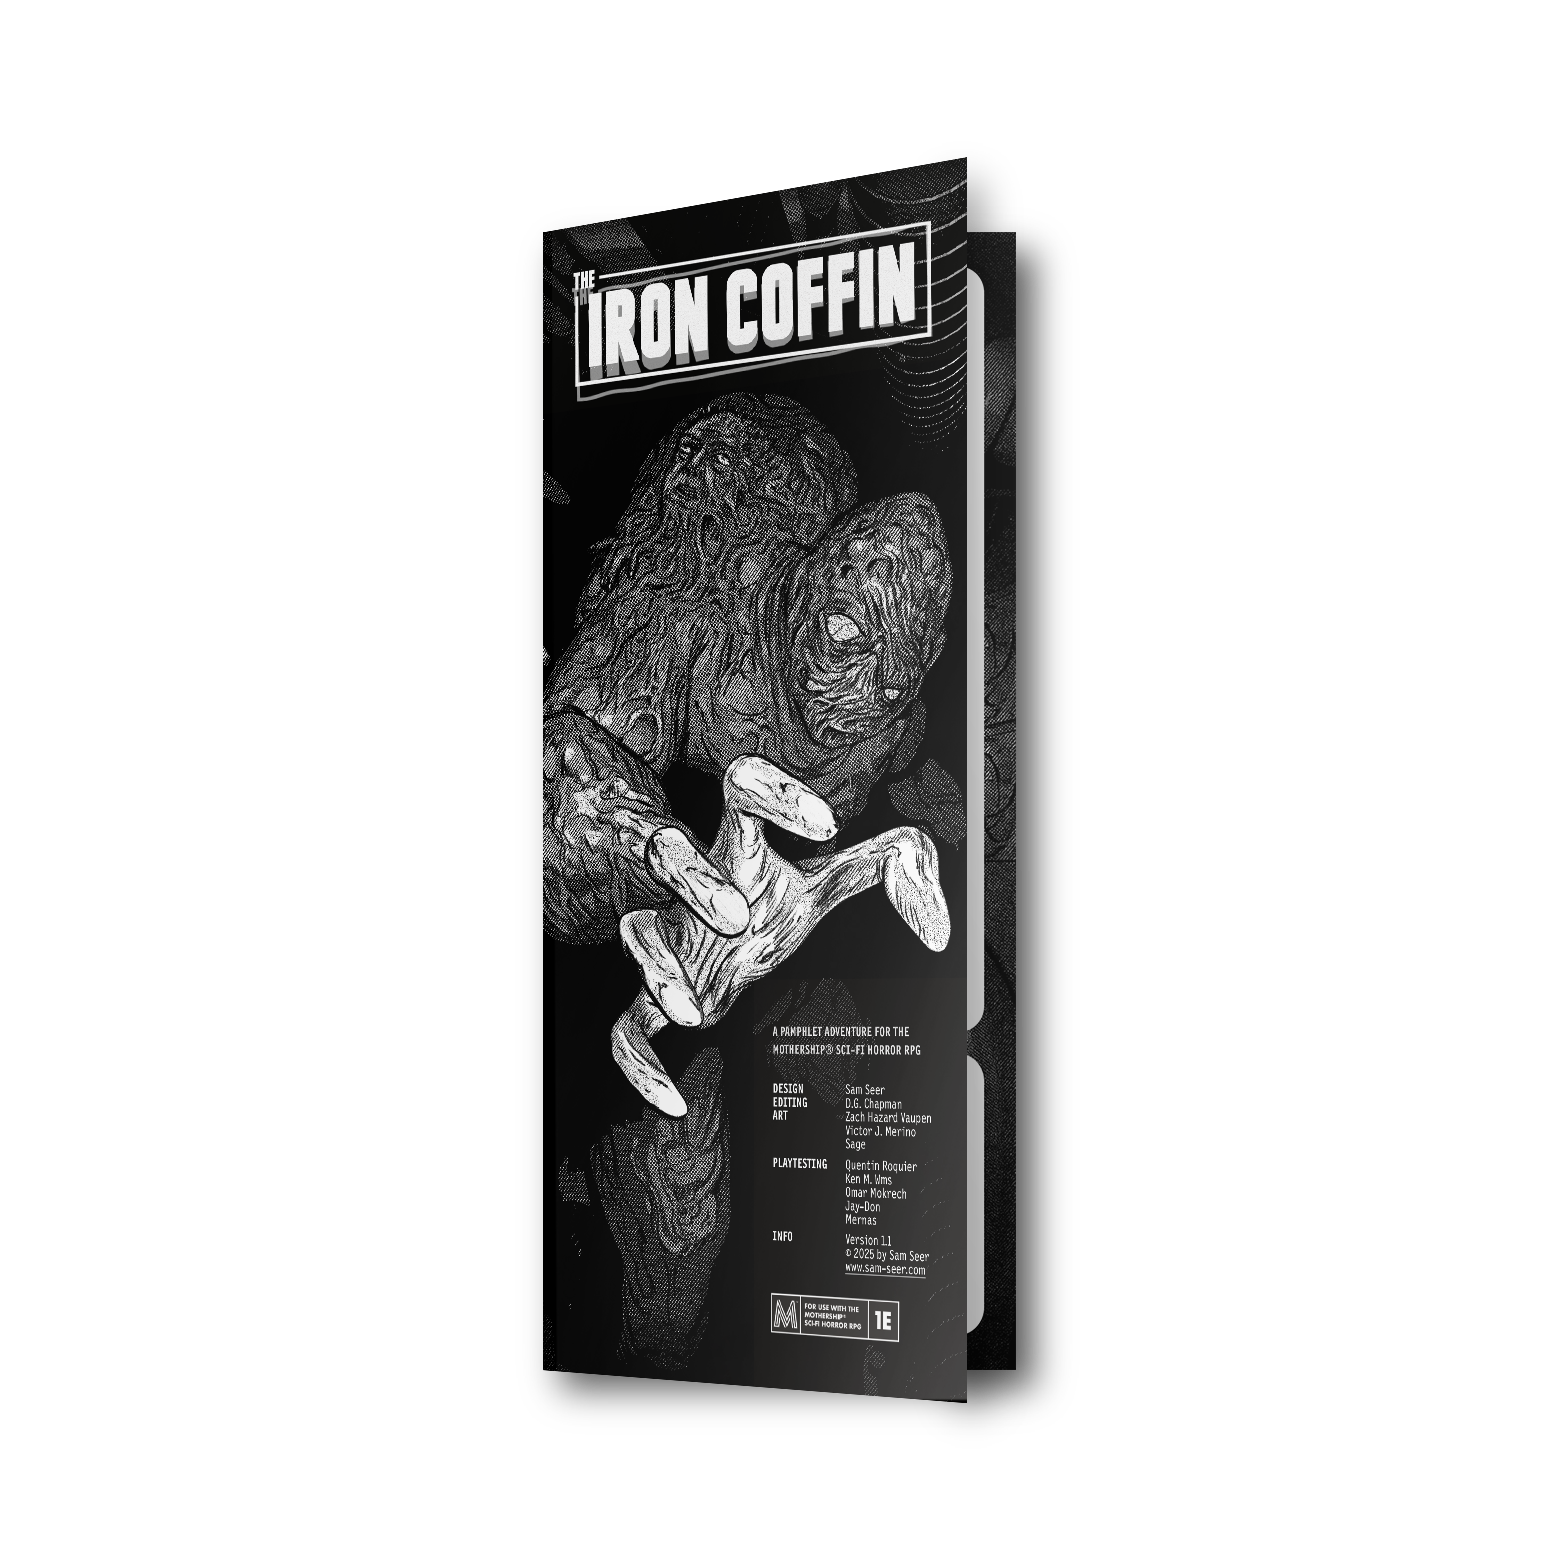
The Iron Coffin

I did some dev editing on this great new Mothership pamphlet by Sam Seer, available now over on the TKG store and digitally on itch! Extra goodies with the digital version too

It's a tight little adventure of classic space horror on board a sinking ship - a perfect introduction to the game or a worthy addition to any Warden's arsenal. I can be nice about it because I didn't come up with it lmao. Also there's art by fellow MoSh mainstays Zach Hazard Vaupen and Victor J Merino?! You gotta check this one out

Monday, 13 January 2025

King of the Mountain

 an adventure for GoGoGolf!


Mount Teemeeoff is one of the smallest in the Driving Range, covered top to bottom in soft green grass. Recently, a boss monster called Big King Pachinko has moved in to the mountaintop, knocked over the pointy bit, and started causing trouble.

Calling himself king of the mountain, he spends his days hitting enormous wrecking balls with his magic golf club. These fly everywhere, causing rockslides and careening down the slopes of the mountain itself.

The locals have had to hide or flee, and live in fear of the new king. They've sent word for brave heroes willing to climb the mountain and knock him down to size.

- Every time the players move between a location, roll a die. If the number rolled matches that location's number, a small round shadow appears above the players, which slowly gets bigger. If they don't move, they are squished by a person-sized wrecking ball and each take 1 Heart in damage.

1. Fairway Field. Rolling green grass at the base of Mount Teemeeoff. There is a huge rocky cliff ahead that would take days to climb. On either side, two gentle slopes circle up the left and right of the mountain. A couple of Slimes approach anyone who tries to climb either slope, attacking on the orders of Big King Pachinko.

 The slope to the left looks gentle and leads to longer, unkempt grass and a few tall trees (area 2). Sounds of bleating can be heard on the wind from this direction.

The slope to the right is steeper and it is more difficult to see where it leads (area 3). Walking all the way around the base of the mountain to the other side leads to the very bottom of area 4.

There are a few trees here in the field, and one has a large bird's nest at the top. Disturbing the nest wakes a sleeping owl, who is sick of the King making such a racket and will help any way he can. He can carry one person at a time, and cannot fly higher than the bottom of the stairs at the top of area 4. If a wrecking ball comes anywhere near him, he will get scared and fly away.

2. Mountainside Meadow. A sloping stretch of long grass on the mountain's left side. There is a sheep grazing the grass, but it is spooked easily and will run if it notices anyone approach.

Another sheep has found its way to the top of a tall tree, where it sits in a bird's nest, afraid to come down. At the bottom of the tree, a Spike Goose is honking loudly at the sheep, harassing it. The nest belongs to the Spike Goose, and its large egg is in there with the sheep.

Beyond the meadow, the slop continues round to the back of the mountain (area 4).

3. Abandoned Canyon. Up the slope to the right of the mountain, the terrain is steep and quickly gets rocky and difficult. After a while, the path is split by a wide canyon, with only one stone spire standing up in the very centre of it that comes up to the level of the path.

It's too far to jump to the spire, and twice as far to the other side, but someone has left a long plank to use as a bridge. There is a sheep standing in the very centre of the plank atop the spire, unaware of how it got there.

The plank is balanced precariously on the point of the spire, and will unbalance if unequal weight is put on either side. The plank reaches almost the whole way across the gap, but not quite - it's still a short jump to either side from the ends.

On the far side of the gap, the path continues round the back of the mountain to area 4.

4. Stone Stairway. Both paths, 2 and 3, lead round to the back of the mountain, and the base of a stone staircase that leads up to area 6. The King is watching this area, and will send down an extra wrecking ball at anyone who tries to climb the stairs.

Below the stone steps is a sheer drop over perilous, rocky cliffs. At the very bottom of the cliffs, at the mountain's base, is the entrance a small cave (area 5), but it can't be seen from the top except for the faint, multicoloured light it emits.

5. Glittering Caves. Strange colours emit from the mouth of this secret cave, round the back of the mountain's base. Inside, the walls are covered in thousands of softly glowing crystals in all the colours of the rainbow. They are beautiful, but ultimately worthless, made of natural rock candy.

The local people who used to live on this mountain are hiding in here. They offer food and a place to rest, as well as one health potion per player (each restores 2 Hearts). They want the King gone, but are all too scared of the wrecking balls to leave.

One of the locals, a shepherd, asks the players to return his three sheep to him, after they all got lost wandering the mountain. He will reward the players with a magic club from his bag for each sheep returned.

6. Teemeeoff Peak. The pointed summit of the mountain has been levelled off to create a lawn for Big King Pachinko. The boss monster is a huge round ball, nearly as tall as a person, with hands and feet and an enormous moustache. He is able to create wrecking balls to attack with, which he hits with his golf club.

He wears a little gold crown, which he is very vain about and references constantly, believing that its shine makes him the most important person on the mountain.

Big King Pachinko. Level 10, 6 Hearts, 1dmg. Can create wrecking balls which deal 1 Heart damage when sent flying. Wields the Big Big Club, which has the power to hit anything round and send it flying as easily as if it were a little golf ball, up to the size of the person using it.


GoGoGolf! is available in print ($5USD) and pdf ($3USD) from Possible Worlds Games, itch, DriveThruRPG and Indie Press Revolution.

Tuesday, 5 December 2023

The White Tower


(I)              Readily available and observable information

(II)            Requires closer observance or aid (eg: light)

(III)           Can only be observed with the Third Eye


-        Acts of Sedition

1.     Rob the tower.

2.     Rescue a prisoner.

3.     Calm the tower’s ghost.

4.     Send a message by raven.

5.     Extinguish the light.

6.     Take over the tower.


(I) Also called Smocklehythe Tower, The Lord’s Prick, Serpent’s Tooth. A lighthouse and gaol for those awaiting execution by the House, its foundations are an island in the middle of the river.

Separated from the rest of Smocklehythe by a short boat ride, the pale edifice looms over South Lanton, twenty-one yards tall from the point of its spired roof to the cold waters below.


(II) Stone steps emerge from the water and alight at the only entrance, a door of black iron bars in the tower’s south face where a guard keeps watch.


The top of the tower is open on all sides, its spired roof held up by pillars. A guard keeps watch and, by night, a great fire is kept burning.


There are four windows in the east wall, one on each floor, about four yards apart. A third guard can sometimes be seen passing the upper of the middle two windows by night and the lower by day.

All three guard wear gaoler’s uniforms. Shifts change at sunrise and sunset, with reinforcements arriving by boat.


-        Roof
(I) The top of the tower is a flat platform from which four pillars hold aloft a canopy spire. It is a sixteen-yard drop to the water below.

In the centre is a huge brazier of black iron laden with firewood, lit and tended by a guard from sunset to sunrise. The day shift replacement merely watches the surrounding river.

Guard. Official truncheon (?), hot pork pasty (2d), vial of oil (6d), tinderbox (10d).

A spiral staircase alights here. The cawing and flapping of several large birds can be heard below.

-        Rookery
(I) The floor is lined with feathers and guano, the air thick with smell and noise. Seven messenger ravens are kept here, tethered to their perches by silver chains (£1 each).


On the floor is a pouch of bird seed (2d) and a sturdy black cage (£1).

From upstairs comes the sound of wind, and by night a roaring fire’s red glow. The staircase leads both up and down.

(II) The ravens’ chains and the window in the east wall are locked. The guard in the guardhouse has the keys.

-        Gaol

o   Stairwell
(I) Enclosed by stone walls. A heavy wood door leads to the guardhouse.

The noise of the rookery echoes faintly from above. By day the sounds of a busy kitchen can be heard downstairs, by night silence.

(II) At night the guard can be heard snoring by anyone eavesdropping at the guardhouse door, lantern light barely visible through the cracks.

o   Guardhouse
(I) Empty by day, the night shift guard catches forty winks in an old wooden rocking-chair (£1&1d).

Guard. Official truncheon (?), ring of keys (?), hooded lantern (£1), deck of cards (10d).

Black iron bars divide this room from the cell, the gate locked. A wooden door adjoins the stairwell. There is a window in the east wall.

(II) After dusk the guard arrives and lights a hooded lantern, and can be seen through the window.

The four keys on the ring open the cell on this floor, the shackles within and the chains and window in the rookery. Each resembles the lock it opens.

(III) Soft wailing drifts from the cell on an otherworldly breeze.

o   Cell
(I) The gaol proper, separated from the guardhouse by a locked gate.

Prisoners are kept in shackles chained to a heavy iron ball (£2). The guard in the guardhouse has the key.


There is a spectral presence here, felt first as a chill, unnatural wind and then in terrifying visions of death.

(II) A thorough search unearths a metal file (6d) hidden away behind a loose stone along with a rat skull.

(III) The ghost of a woman killed here long ago moans inconsolably, searching for her lost head. If reunited with the skull in the whalesbourne, she passes on.

-        Kitchen

o   Stairwell
(I) Enclosed by stone walls. By day, sounds of the cookhouse through a wooden door. By night, only the wind and water from the gatehouse downstairs.

o   Cookhouse
(I) A large pot (3d) atop a simple wood-burning stove, set into the wall below the window.

The day shift guard makes gruel here, steam filling the room. After sunset, the fire is put out and the room goes silent.

Guard. Official truncheon (?), wooden spoon (2d), vial of oil (6d), pouch of black pepper (6d).

Two doors connect to the stairwell and pantry.

o   Pantry
(I) A large barrel of clean water, a stack of dirty wooden bowls (1d each), two heavy sacks of oats (2d each), a chamberpot (2d), several rotting turnips and an unopened vial of black treacle (6d). Roll a die to see how many rats are about.

There is a door to the cookhouse.

-        Gatehouse

o   Doorstep
(I) Entry to the stairwell is barred by a sturdy gate of black iron. A guard stands watch outside atop a short flight of stone steps that descend into the water, where a post is used to moor boats.

Guard. Official truncheon (?), hooded lantern (£1).

o   Stairwell
(I) A spiralling stone staircase begins here and continues up to the roof, alighting at every floor in-between.

To the side is a wooden door labelled records.

o   Records
(I) A desk with paper (1d/sheaf), quill pen (10d) and two vials of black and red ink (6d apiece).

There is a window overlooking the water outside, as well as a door to the stairwell, and another labelled store.

(II) Searching the desk uncovers ledgers detailing the names and crimes of prisoners kept at the tower through its history, beginning after the occupation of the House.

o   Store
(I) Several empty barrels, six yards of rope (2d/yard), a hooded lantern (£1), a vial of glue (6d), and a small pouch of gunpowder (£6).

(II) Beneath some of the goods is a trap door leading down to the whalesbourne.

-        Whalesbourne
(I) A cell beneath the store for troublesome prisoners. Pitch dark and heavy with mould. A metal grate in the middle of the floor is all but rusted away.

Laying discarded on the floor are a human skull and a blunt and corroded sword. Roll a die to see how many rats are about.

(II) Light reveals scratches in the wall reading WATCHED FROM BELOW and the glint of something large and pale from the crypt beneath the grate.

-        Crypt
(II) Built into the foundations of the tower. Strangely peaceful, utterly dark. There is a rusty grate in the ceiling adjoining the whalesbourne above.

A giant skull sits in the centre of a square symbol carved into the stone floor. There is a solid gold coin within the hollow of its eye, worth £3.

(III) The spirit of this skull is ancient. It is not seen so much as sensed, a being long faded from this world.

It offers those marked with the Third Eye a gift of one of its teeth. Brannwn’s Blessing, a fist-sized lump of dull ivory, allows its bearer to temporarily expel their spirit from their own body and into that of a raven.

Wednesday, 1 November 2023

Shadows in the Sewer

 “Right, here’s the job. There’s this old crypt we used to smuggle goods through from the graving dock. Trouble is, now the House has closed down the Smocklehythe warehouses, there’s no getting into the tunnels that way.”


“As luck would have it, though… Turns out there might be another way in. Through the sewers.”


“You need to find a passage through to the crypt, grab the loot that’s lying there and bring it back here. You do that, there’s a pound apiece in it for you. That and you can keep any tosh you find lying about.”


“Oh, and do yourselves a favour. Don’t get caught.”


1.     Entrance. A huge stone face in the riverbank wall, its mouth agape with fetid dribble. Inside, pitch black and foul. Roll a die to see how many rats are about, and another for how many lost pence are scattered across the grimy floor.

The tunnel is just wide enough to walk single file. Waste trickles from skull sized holes that line the walls.

From one such hole, the Rat Queen beckons. A spirit of the sewers, she asks that you deal with the monster who has corrupted her halls, rewarding any who expel the snake in the sewer depths (2) with a bite mark. Those who bear this scar can be understood by all rats.

2.     Depths. Further in from the entrance (1), the stench thickens. A side tunnel (3) leads out of the muck while the main sewer continues, eventually ending in a wide, shallow cesspool.

The monstrous snake that dwells within attacks any who disturb the water, fangs dripping deadly venom. Glinting from amongst the bones below the surface are a die roll’s worth of pence, a black athame knife (£2), and a vial containing a potion of hiding (£3), which conceals the drinker for as long as they can hold their breath.


Beyond the pool, the sewer adjoins the crypt (6).

3.     Tunnel. Connects the sewer depths (2) to the crypt (6) via a gate (5). Laying around are an empty vial (2d) and a long wooden pole (1d). Roll a die to see how many rats are about.

In an alcove a stone serpent bares its fangs, dried blood caked on its forked tongue. A fresh offering causes the secret door it guards to open, revealing the sanctum (4).

4.     Sanctum. A small, square chamber, rough-hewn pillars holding up a low, cobwebbed ceiling. In its centre sits a hunched grotesque, older than even the chamber itself.

The statue offers a deal. Player characters may pay 1 Luck and learn how to vomit up a venomous serpent. The snake obeys none but the Devil.

5.     Gate. Black iron bars block the connection between the side tunnel (3) and the crypt (6). The hinge is rusty and screeches loudly if opened. Rust has also eaten a hole in the gate itself, wide enough for a person but lined with jagged metal.

A coffin is stuck in the hole. Its lid, sprouting black fungus, bears the inscription “let none who stir my bones know peace”.

The skeleton within inflicts terrible visions on anyone who open it. Also inside are two funerary coins (1d each) and a silver ring (£2&6d) in the likeness of a snake, engraved with the words “silver for blood”. Its bearer may open the sanctum (4) without sacrifice.

6.     Crypt. A vaulted catacomb paved with gravestones, its many sepulchres long since looted. In one is a heavy, padlocked chest holding twelve vials of rum (6d each). An archway borders the sewer depths (2), and the gate (5) leads to the tunnel (3).

From the far end of the tunnel come echoing footsteps and a blood red glow. A uniformed House guard patrols the crypt, carrying a hooded lantern (£1) and official truncheon (£13).


Monday, 23 October 2023

The Old Graving Dock


When the House closed down the docks, they scuttled the cargo ship Gilt Fawn and left her here to rot. By day, folk still congregate in search of work, forcefully dispersed by the local House guards. By night, the abandoned shipyard falls silent.

I. DRY DOCK

The ship has settled into the silt, its upper deck six yards up. A hole in the hold is too choked with muck to fit through.

A winch controls the dock’s huge sluice. Roll a die to see how many rats are about. A grate leads to Smocklehythe sewer.

II. UPPER DECK

Six yards above the dry dock dirt. Bare masts, one lifeboat. Doors leading to the captain’s cabin and crew’s quarters.

III. CAPTAIN’S CABIN

Locked. Vial of rum (6d), hand mirror (£1&1d), spyglass (£6).

IV. CREW’S QUARTERS

Cramped. Amongst old rags are six yards rope (1d/yard) and a dagger (£2). Door to upper deck, stairs to lower deck.

IV. LOWER DECK

Long since looted. Stairs to the crew’s quarters and hold.

VI. HOLD

Corpse in fine clothing (£2), a key around its neck and dagger in hand. It is haunted, attacking if any dare take its treasures. A half-filled hole to the dry dock, stairs to the lower deck.


Also:

I hope you’re already listening to Ben L’s excellent ongoing podcast Into the Megadungeon, in which he interviews great writers and GMs about how they do All That. Latest episode with Luke Gearing is here.

One of the original and still one of the best megadungeons, Caverns of Thracia, was of course written by the legendary Jenell Jaquays, who is currently raising funds for medical treatment. Please help if you can.

This Mothership module on Kickstarter has a crack team behind it and less than a week to go. A sci fi adaptation of the Demeter chapter from Dracula, so pretty much the platonic ideal of MoSh.


Tuesday, 17 October 2023

Red Moon Generator

Sounds like a good Mothership adventure, doesn’t it? No dice, we’re back in Lanton town. ‘Tis the season for Graverobbers, and while I plan next moves for the Pocket Guide I’m thinking about the best way to include a starter adventure. This is an adventure game, so no adventure would be like cutlery without soup.

I honestly hadn’t considered randomly generating a starter adventure as an option. I love bespoke, playable spaces put together by level designers. It’s most of what I do and a lot of why I love this hobby in the first place, and while randomly generating a dungeon is fun in its own way you undoubtedly lose something.

However! Let’s consider our needs in this specific instance. We want a quick, introductory adventure. Quick is important - even the six-room dungeon I had been working on for this has branching paths, sticky decisions and potential pitfalls that could easily see a group, especially a new one, delving for hours. It’s easy to underestimate play time when writing one-shots - I wrote The Haunting of Ypsilon 14 for quick convention play and I’ve heard stories of folk getting multiple session mini-campaigns out of it. I ran a second session of it Sunday night and we’re still not done.

So, quick is good but we can go quicker. Why not a simple series of randomly generated obstacles? One or two things in the way of some treasure, a half-hour maximum of play to get to grips with the world and the basics of the game. And if a session does run longer, that lets the players experience the Black Market / Red Moon loop as well, win-win.

This also keys in to the “introductory” aspect, as a Dealer who wants to run this multiple times will be able to keep things fresh. Could even be done with the same group. Plus a bunch of random tables is one of the best ways to describe an adventure game setting - plus plus, that’s a bunch of material to pull from for other sessions, even more easily than from something more structured. An adventure comprised solely of random tables almost functions as a GM screen in this way, and I’m all for material pulling double duty.

Anyway, it’s an idea I’m toying with. Below are some tables, the likes of which you may be seeing in the upcoming final version of A Pocket Guide to Smocklehythe. As always, remember to pick up this “early access” release, and you’ll get the full version free when it comes out and avoid the price going up.

Tonight, beneath a Red Moon…


On the Smocklehythe riverbank is an old graveyard, surrounded by…

1.     A six-foot, old brick wall

2.     A jagged, rusting iron fence

3.     An old, low dry-stone wall

4.     Thick, thorny hedgerows

5.     A shallow, stagnant moat

6.     Badly mended wooden fences


The night guard wields a hooded lantern (£1), official truncheon (£13) and…

1.     A hungry bandog (£10) on a heavy iron chain (6d)

2.     A pistol (£13), powder and shot for one firing (1d each)

3.     A silver whistle (£1&6d)

4.     A vial of good whiskey (6d)

5.     An accomplice, walking in step

6.     A hot meat pasty (2d)


You know that somewhere here lies your prize, a grave…

1.     Within a mortsafe, the guard has the key

2.     Beneath a great stone statue

3.     Unmarked, therefore conspicuous

4.     In one of four identical vaults in the crypt

5.     Under a worn headstone, nearly unreadable

6.     Yet to be buried, six feet down in a freshly dug plot


The treasure in the coffin turns out to be…

1.     Only the usual, two large funerary coins (£1 each)

2.     A solid silver ring in the shape of a serpent (£1&4d)

3.     A gold tooth in the skull, sharply pointed (£1)

4.     A little stone talisman, protects against possession (6d)

5.     A vial of deadly poison tucked in the inside pocket (£3)

6.     Nothing. Old bones, black fungus eating at the coffin


But you are not alone…

1.     An incompetent rival bumbles about nearby

2.     A mourner has snuck in to keep vigil by candlelight

3.     The beleaguered old gravedigger whistles as they work

4.     A fox in the undergrowth, watchful and wary

5.     An adder in the grass, quick to strike if disturbed

6.     Roll a die to see how many rats are about


And in the darkness stirs…

1.     A roaming spirit, a chill on the wind

2.     One final scream as the spirit of your quarry departs

3.     The bones and sinew in the coffin grasp hungrily

4.     An imp dedicated to mischief, eating candle-flames

5.     A grim, the local warden spirit, bark without bite

6.     The graveyard cat